FFmpeg is a versatile multimedia framework used for processing audio and video files. To utilize its features efficiently, it’s essential to install FFmpeg in Windows system and add it to the system’s PATH. This guide will walk you through the process of downloading FFmpeg from the official website, extracting the files, and configuring the system environment variables.
Table of Contents
Step 1: Download FFmpeg
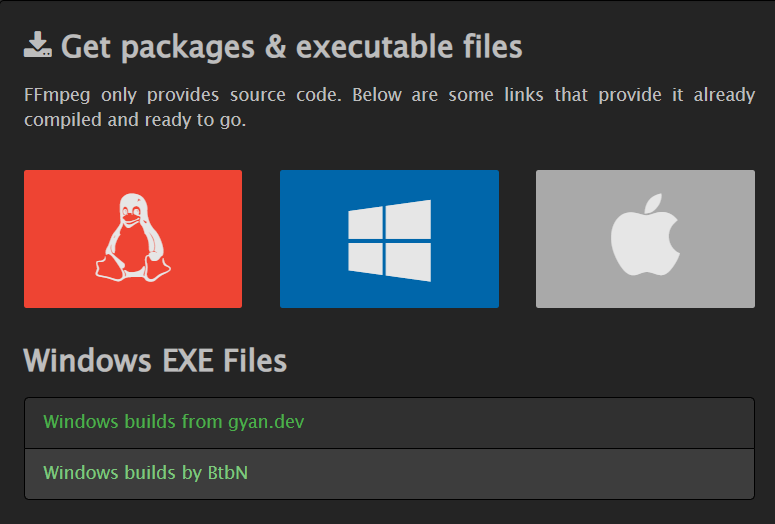
- Go to the official FFmpeg website ffmpeg.org/download.html.
- Choose the Windows logo, it will show the Windows EXE Files.
- Click on the “Windows builds from gyan.dev”
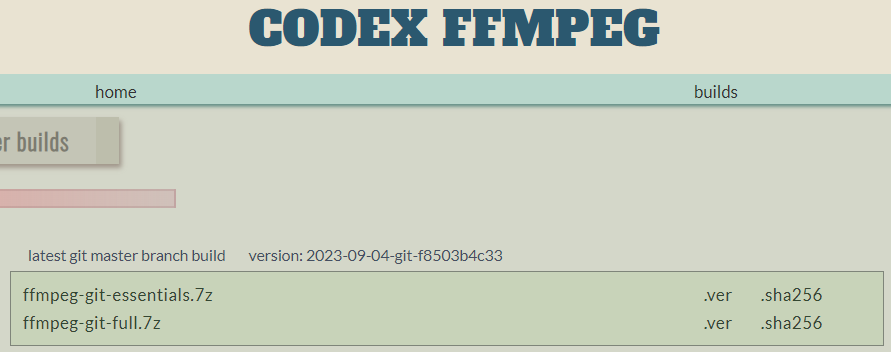
- Select the “Full Version” of FFmpeg (e.g., “ffmpeg-git-full.7z“). This version contains all the necessary components.
- The download size may vary but is typically around 47.5 MB.
Step 2: Extract FFmpeg Files
- Locate the downloaded zip file.
- Move the zip file to the “C:\” drive.
- Right-click the zip file and select “Extract All.”
Step 3: Add FFmpeg to System PATH
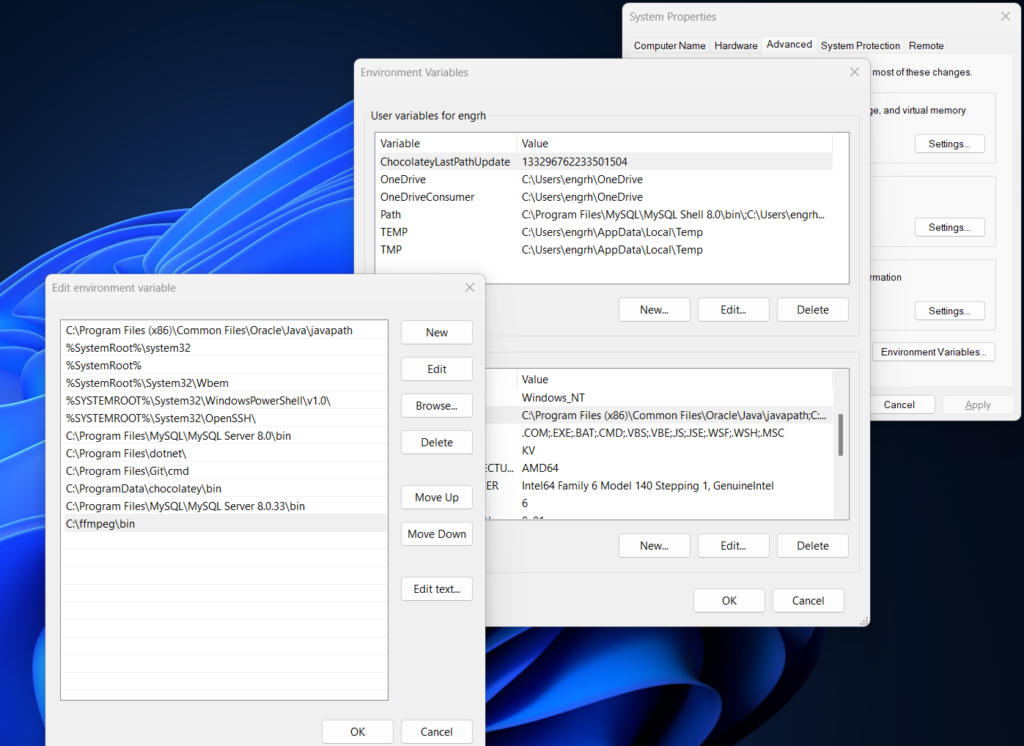
- Search for “Environment Variables” in the Windows Start menu and select “Edit the system environment variables.”
- Find “Path” under “System variables.”
- Under “System variables,” locate and select “Path,” then click “Edit.”
- In the “Edit Environment Variable” window, click “New” and add the path to the folder where you extracted FFmpeg (e.g., “C:\path\to\ffmpeg\bin”).
- Click “OK” to close each open window.
Testing
- Now open the command prompt and type “ffmpeg“, if you see the ffmpeg version and other relevant commands like the below.
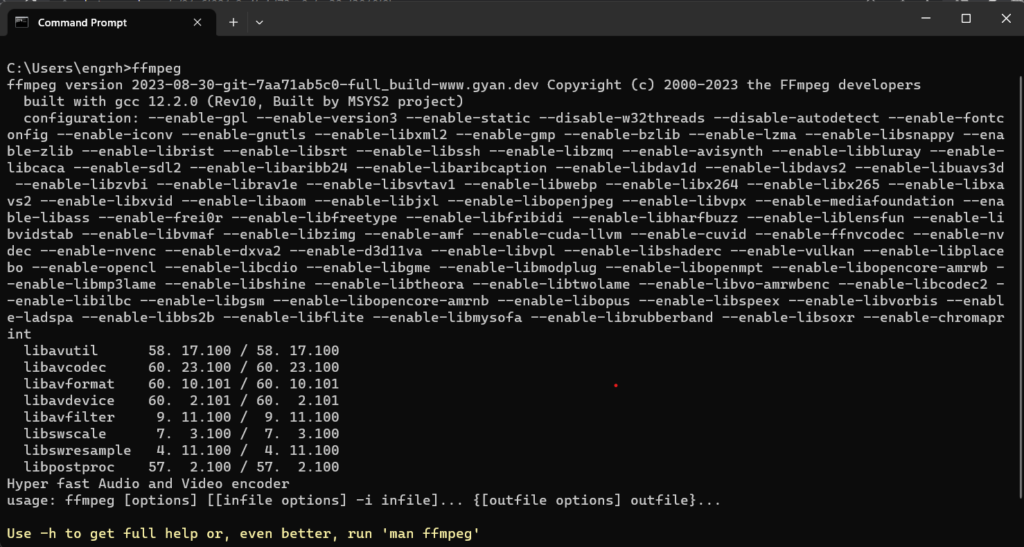
- Then, Congratulations you have successfully installed FFmpeg on your Windows system.