
In the world of Python programming, using a virtual environment on Windows is essential. It helps in maintaining project dependencies and avoiding conflicts between packages. If you’re a Windows user, creating a virtual environment might seem challenging, but it’s actually quite simple. This guide will walk you through the process step by step.
Why Use a Virtual Environment?
A virtual environment is an isolated space where you can install Python packages for a specific project without affecting other projects. This isolation ensures that the dependencies of different projects don’t interfere with each other. Here are some key benefits:
- Dependency Management: Different projects can have different versions of the same package.
- Project Isolation: Keeps your global Python environment clean.
- Reproducibility: Helps in creating reproducible setups for your projects.
Prerequisites
Before you start, make sure you have Python installed on your Windows machine. You can download the latest version of Python from the official Python website.
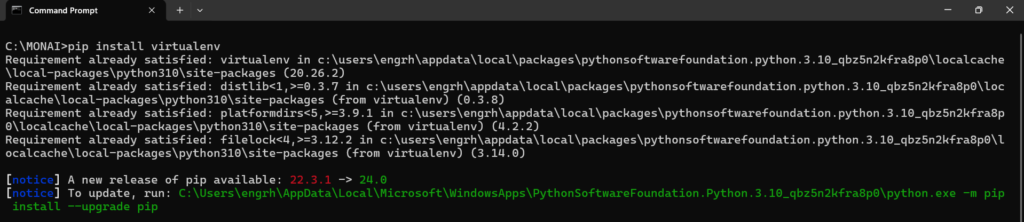
Step 1: Install virtualenv
First, you need to install virtualenv, a tool to create isolated Python environments. Open the Command Prompt and run the following command:
pip install virtualenv
This command will install virtualenv globally on your system.
Step 2: Create a Project Directory
Navigate to the directory where you want to create your project. You can use the Command Prompt to create a new directory:
mkdir myproject
cd myproject
Replace myproject with your desired project name.

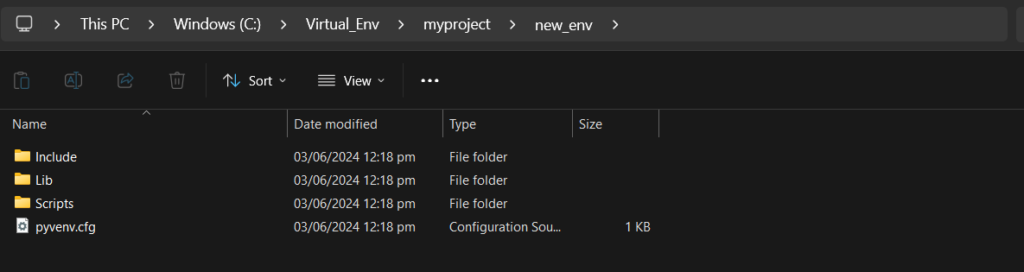
Step 3: Create a Virtual Environment
Now, you can create a virtual environment within your project directory. Run the following command:
python -m venv new_env
Here, new_env is the name of the virtual environment folder. You can name it anything you like.
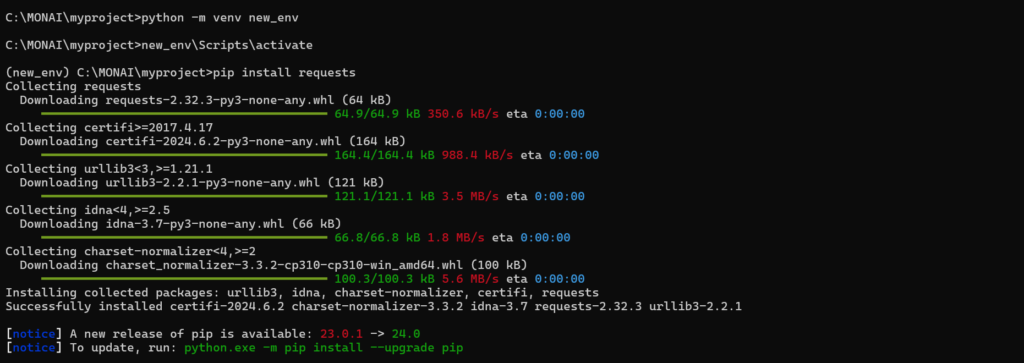
Step 4: Activate the Virtual Environment
To start using the virtual environment, you need to activate it. Use the following command:
new_env\Scripts\activate
Once activated, your Command Prompt will show the name of the virtual environment in parentheses. It should look something like this:
(venv) C:\path\to\myproject>
Step 5: Install Packages
With the virtual environment activated, you can install packages specific to your project using pip. For example, to install the requests library, run:
pip install requests
Step 6: Deactivate the Virtual Environment
After working on your project, you can deactivate the virtual environment by simply running:
deactivate
This command returns you to your global Python environment.

Step 7: Reactivate the Virtual Environment
Whenever you return to work on your project, you need to reactivate the virtual environment using the same activation command:
new_env\Scripts\activate

Conclusion
Creating and managing a virtual environment in Windows is straightforward. By following these steps, you ensure that each of your Python projects remains isolated and manageable. This practice not only simplifies dependency management but also enhances the overall development experience.
For more Python tips and tutorials, stay tuned to our blog. Happy coding!